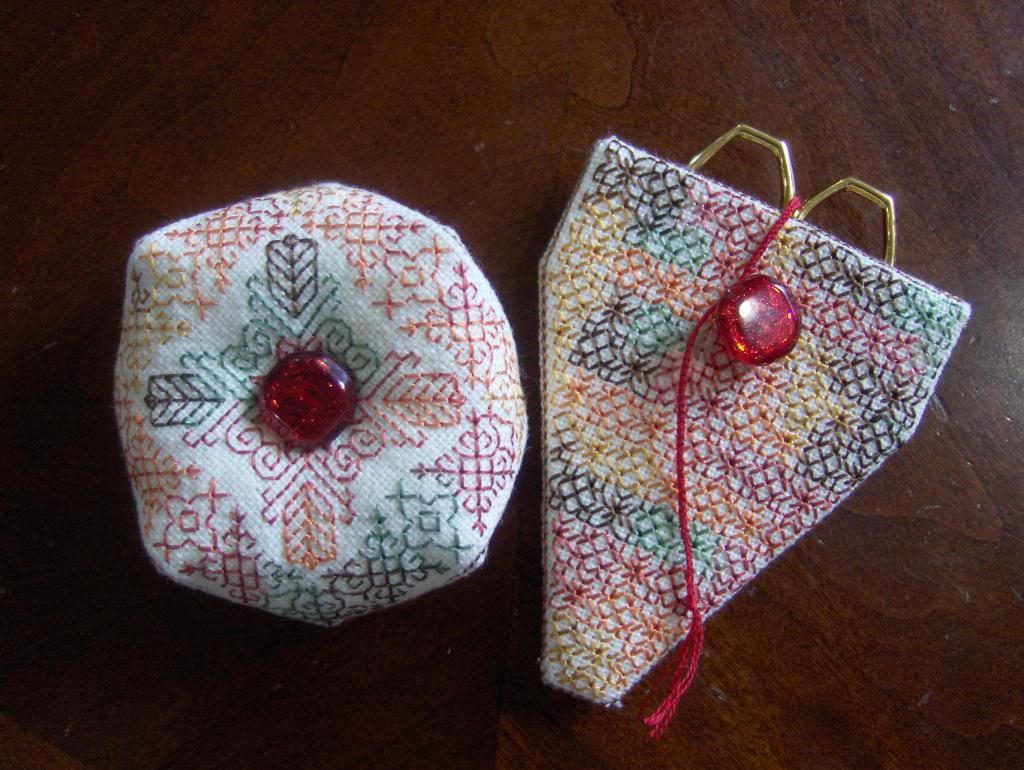
I love how blackwork looks with variegated thread. :) I hope she likes them. I am going to have to make a set for myself!
Aaaaaannnnnndddd, I have spent today prepping Snow White so I can start stitching it!!!!! FINALLY!!!!! Just in case you don't know what piece I am doing, it is called Snow White Discovers the Cottage, by M.C.G. Textiles. It is based off a painting by Thomas Kinkade, and will be stitched on a tan colored, 18-count aida fabric that came with the kit. Here is what the finished piece will *hopefully* look like when it's done:
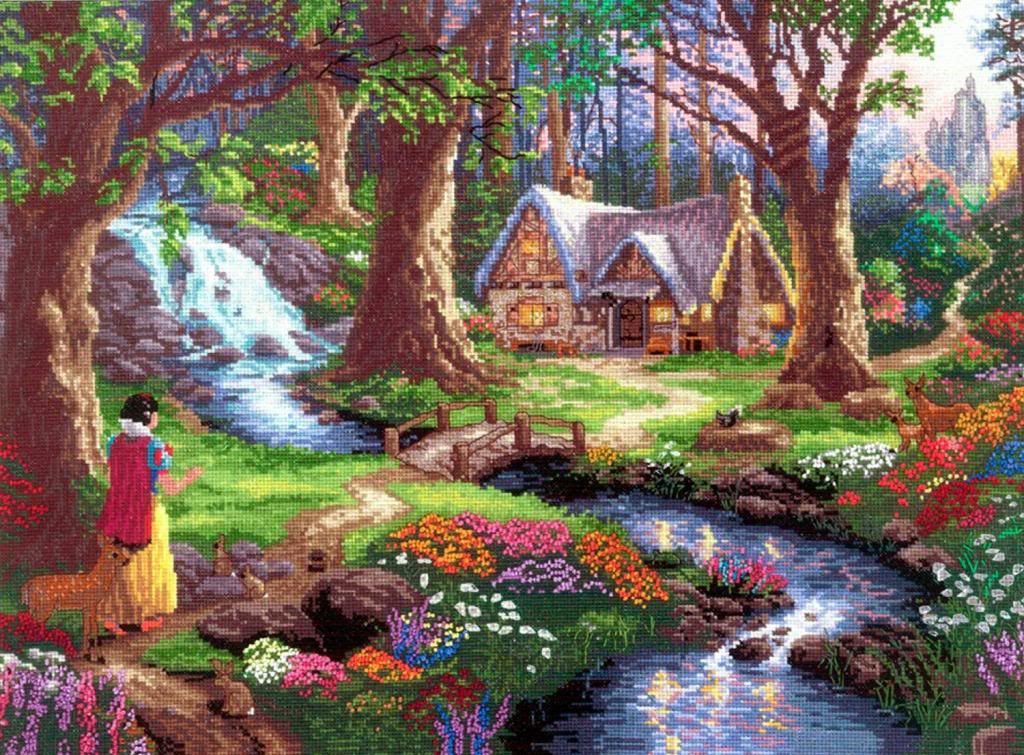
What's not to love about that? I actually think this one will go a little faster than Beauty and the Beast did, now that I know how my system works and what I'm doing :)
The prep work I did today:
I sprayed and ironed the fabric to loosen it up a bit and get the folds out from being in the kit.
I use masking tape on the edges of my fabric to keep them from fraying and keep my threads from snagging on the edges. I do have to cut the tape off after it is finished, but I only tape 2 or 3 squares' worth in, so I don't lose hardly anything.
Then it's time to put the fabric on my scroll frame. My wonderful scroll frame. :) Instead of gridding every block of 10, I use thread to just do the outline and the center lines. I mark the very edge of the pattern as it is printed, not just the edge of the stitches. This just works the best for me. Here is the fabric, in the frame and ready to go!:
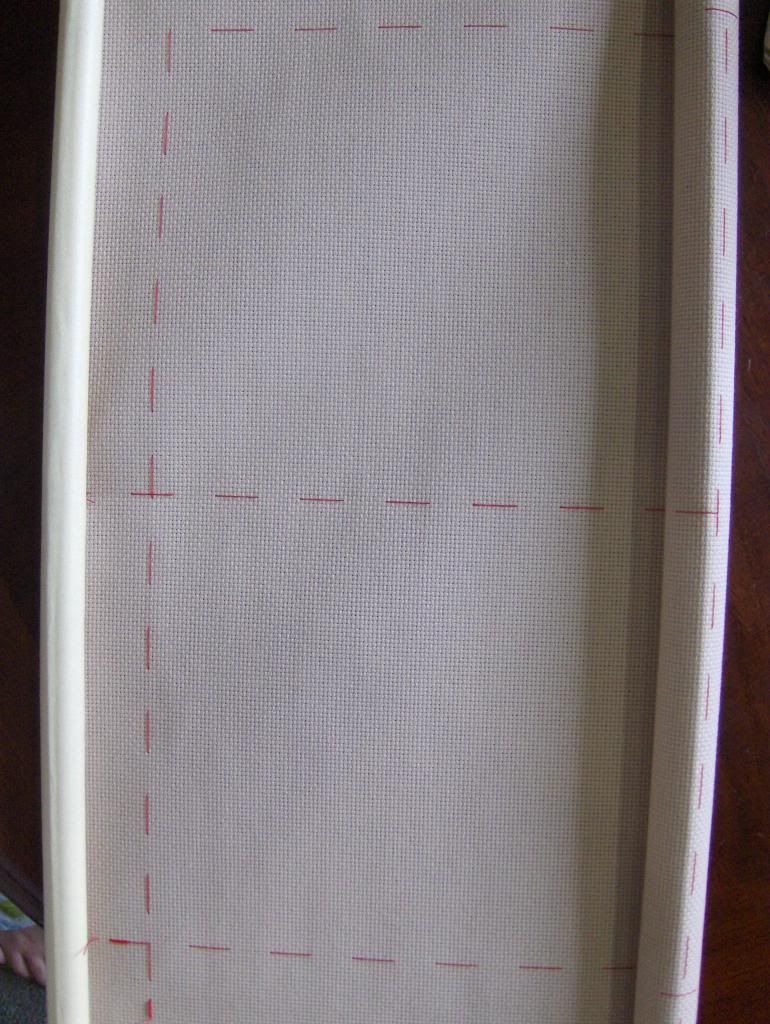
This is the left side of the picture.
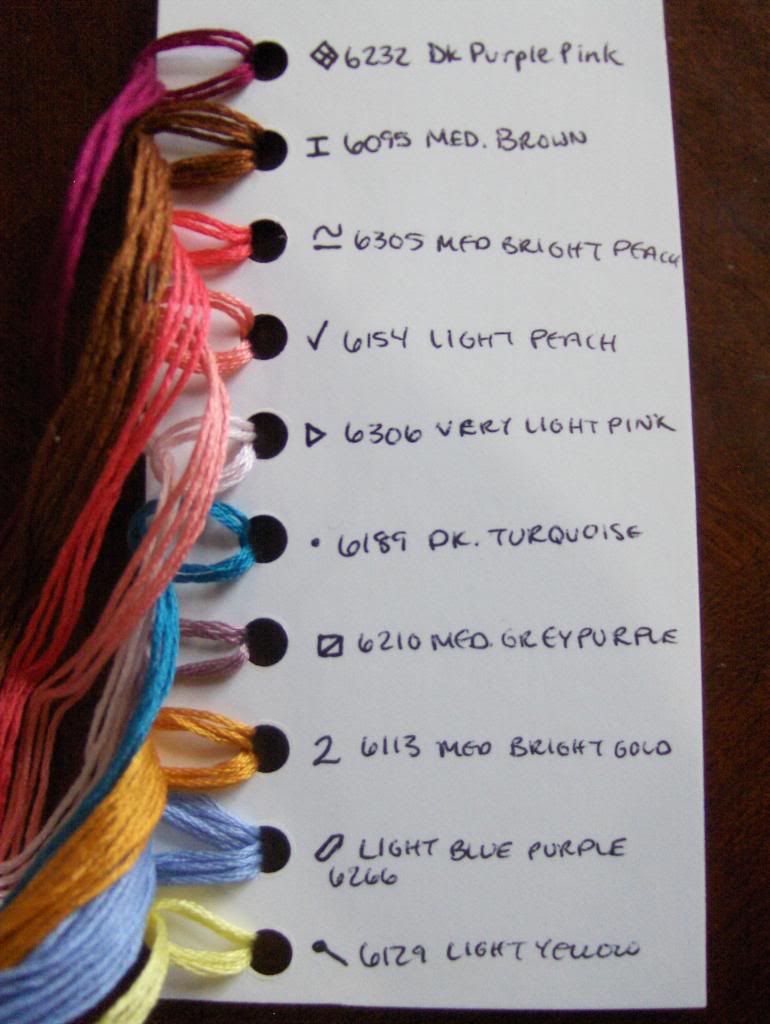
For preparing the threads, I don't wind them onto bobbins, I put them on cards, marked with the color name and number, and with the symbol directly on the card. I discovered this a little ways into Beauty and the Beast, and it is WONDERFUL. No more constantly having to refer back to the key, and after a little while I get to know generally which card has which threads. This was one of the older kits that didn't come pre-sorted (ah! nightmare with 75+ colors!), so this also helps me to go through the threads and make sure I have the right number of strands of every color, and that I have all of the colors. Here is one card (of 8) marked up:
I also made a full copy of the entire pattern. I use a marker to color in the squares I have stitched as I go, which makes the backstitch lines and french knot dots hard to see. Also because the pattern is on a large piece of paper folded into quarters, I ended up with a small hole in the middle of my pattern on both pages for Beauty and the Beast and ended up having to guess what the symbols were. It wouldn't be so bad if I didn't have to pack everything completely up every time I am done stitching, but with a 1 year old and a 3 year old, I can't risk leaving things out. Anyway, long story short, I decided that having an extra copy of the pattern would be a good idea this time around.
Unfortunately, I don't have any stitching progress to show because the day has been spent preparing. I am going to try to put in 1 or 2 lengths before we go to my parents' house for dinner tonight. I am just so excited to start this one!!! Woot woot!
I can't wait to watch you progress through Snow White now!
ReplyDeleteDid you make a copy with a home copier, or did you take it somewhere to get a copy? I don't think the large pages of mine would fit onto the scanner bed of my printer in order to make a copy of it.
I just made it on my home copier. I had to be creative about turning and folding the paper to make sure I got it all - I have a ton of overlap, but I didn't want to leave anything out. :)
ReplyDeleteGood for you! I'm SO EXCITED to watch this project grow, and Mom loved her presents! Good job!
ReplyDelete